You need a stack: a series of photos of one subject, each focused a little farther than the one before, from the nearest point you want sharp to the farthest. A camera’s focus bracketing makes one, so does a focusing rail, and so does turning the focus ring a little between shots on a tripod. Shooting for focus stacking says how to make a good one; for a first try, any 5 to 30 photos of a small subject will do. RAW files, DNG, TIFF, JPEG, PNG, WebP and OpenEXR all work.
1. Add the frames
Start FloraStack and drop the photos, or the folder that holds them, on its window. (Or File > Add frames….) They become the frames of a new, temporary project and appear in the frame list on the left, in the order of their file names; the viewer in the middle shows the selected one.
The order matters: frames are stacked from one end of the focus range to the other, and file names from a camera or a rail are in that order already. If yours aren’t, see out-of-order stacks.
2. Align
Press Align in the Stack tab, on the right (or Stack > Align frames, or Ctrl+L; ⌘L on macOS). Alignment measures how each frame moved, turned and changed scale against its neighbor, and corrects it; focusing changes a lens’s magnification a little, and even a tripod moves. It takes a few seconds for a handful of frames.
Each frame in the list then shows how well it matched its neighbor, from 0 to 1. A good stack scores above 0.9 everywhere. Frames flagged out of focus (the blurred ones at the ends), moved or low score are worth a look; untick a frame to leave it out, and align again.
3. Stack
The Stack tab’s method is Pyramid by default, the best all-rounder. As soon as the frames are aligned, a quarter-size preview shows in the viewer: it takes a few seconds, and is made again whenever you change a setting.
Press Stack frames for the full-size result. It runs in the background, with its progress and the time left in the top bar; you can keep changing settings and previewing meanwhile. The result appears in the Outputs list, under the settings, and in the viewer.
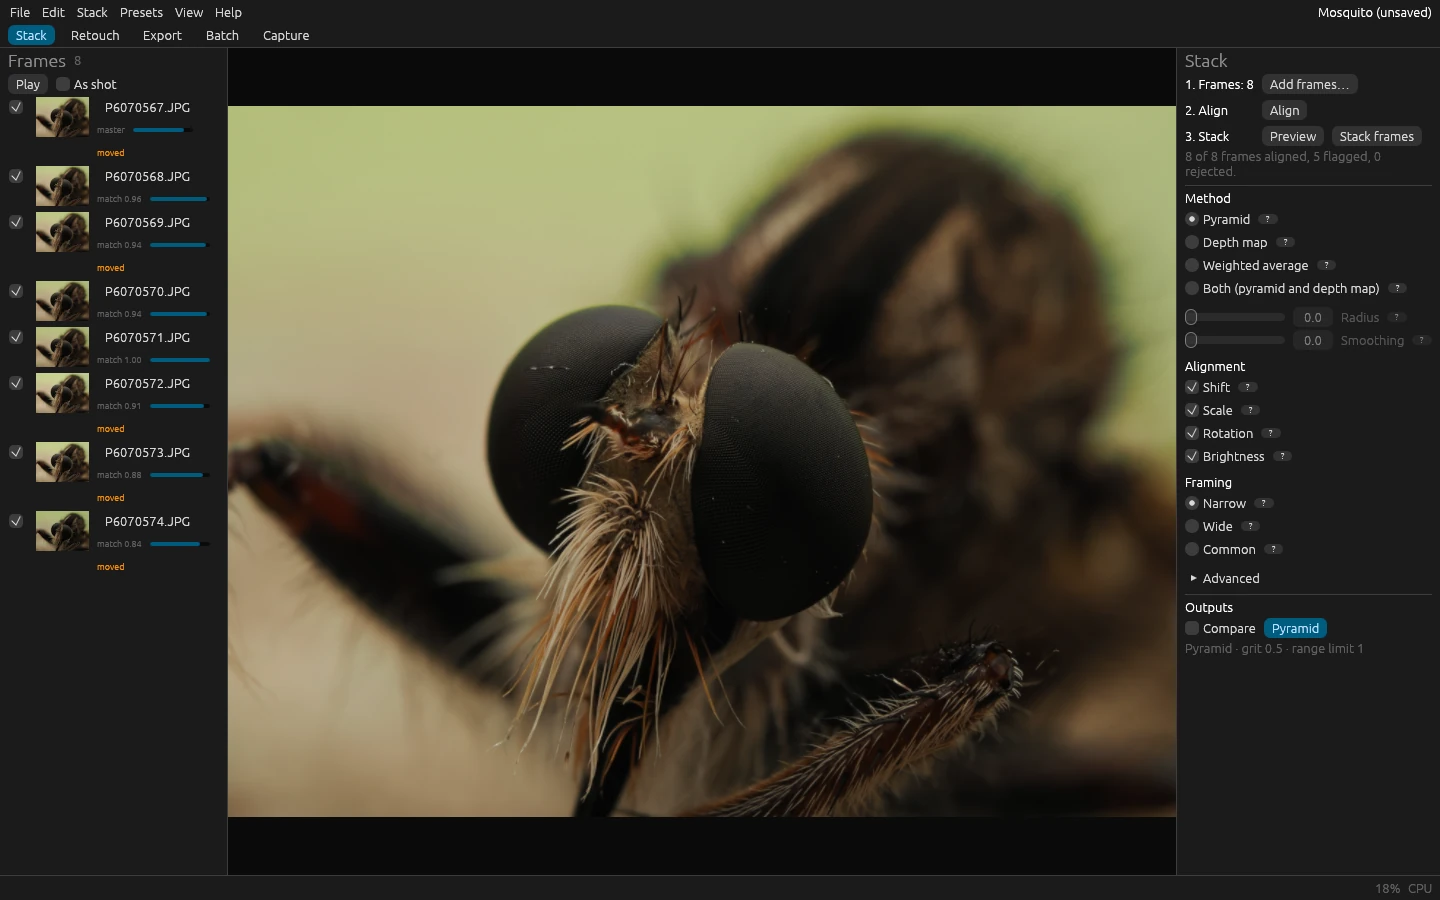
Zoom to 100% (Ctrl+1, or View > Zoom to 100%) and look at the fine detail. If you see halos along edges, smeared hairs or blotches, Choosing a method explains what each method does well, and Both makes a pyramid and a depth-map output to compare: tick Compare on two outputs to see them side by side or with a split line.
4. Export
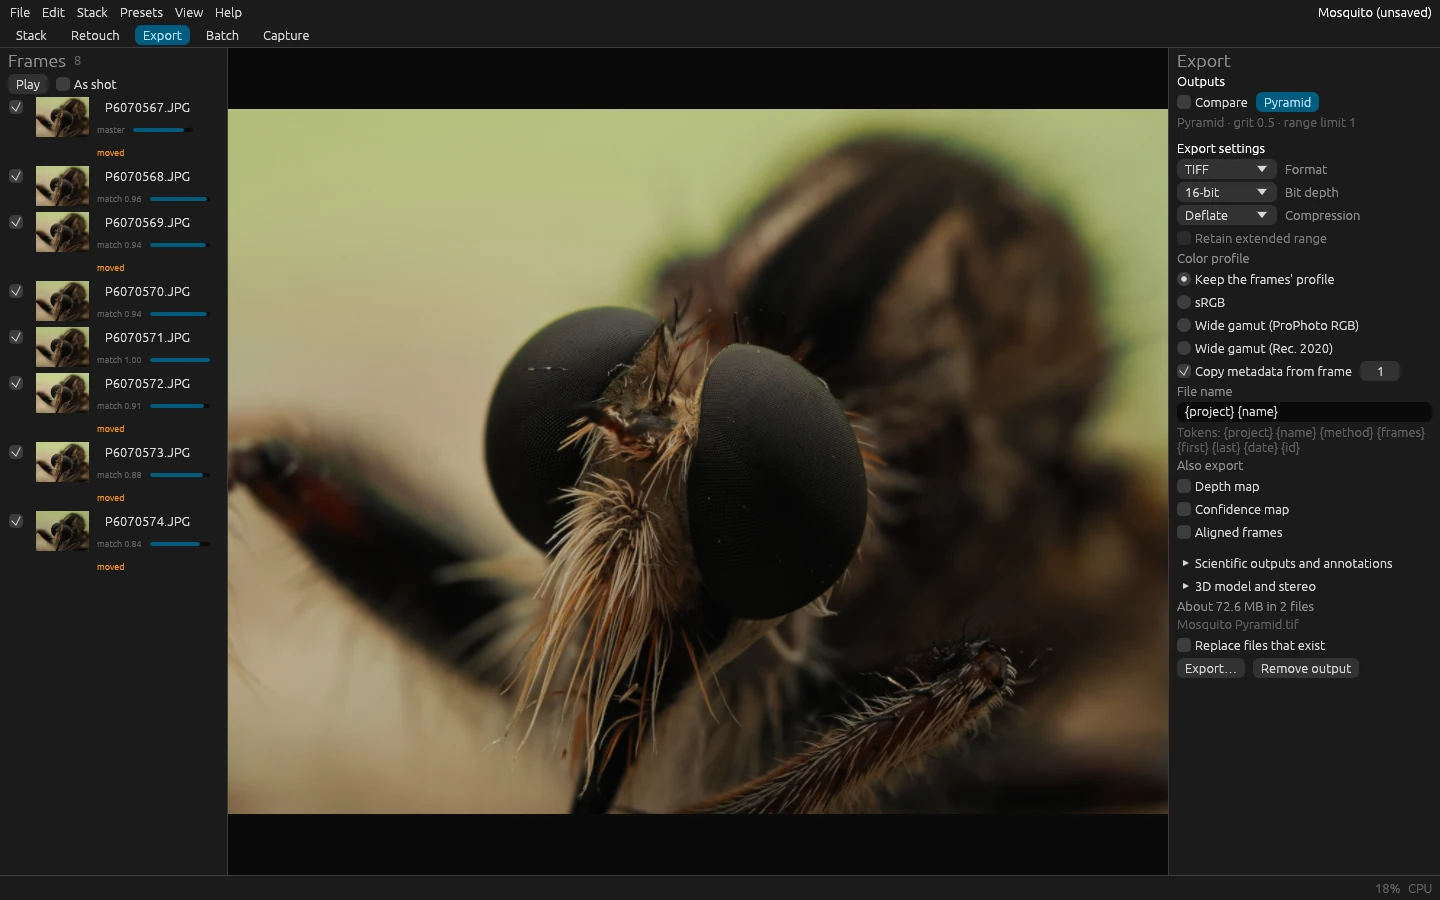
Open the Export tab, pick the output, and press Export…: choose a folder, and the stacked image is written there, as a 16-bit TIFF with the first frame’s metadata unless you change the export settings. TIFF keeps everything for editing; JPEG is for sharing. Exporting, presets and preferences explains the choices.
5. Keep the project, or not
The project holds the frames’ alignment, every output and its retouching. Until you name it, it’s temporary: File >
Save as… names it and puts it in a folder of your choice, as <name>.florastack/, which File > Open project…
opens again. Temporary projects that go unused for 30 days are offered for the trash the next time FloraStack starts.
The same from the command line
florastack-cli stack path/to/photos --out result.tif
aligns and stacks the photos in that folder by the pyramid method and writes a 16-bit TIFF. On Windows you can also
drag the photos onto florastack-cli.exe in Explorer: it stacks them with the default settings into
<first photo>-stacked.tif, beside them. The command-line tool lists every option.
Next
- Help > Keyboard shortcuts (F1) lists the shortcuts, and Ctrl+K (⌘K on macOS) opens the command palette, which runs any of FloraStack’s commands by name.
- Retouching repairs what no method gets right by itself, by painting from the frames.
- The Stack tab explains every setting.
- Shooting for focus stacking makes the next stack easier to stack.